
Stepping into a home that gleams, where colors pop and the air feels fresh, is an instant mood booster. While many homeowners dream of such a sanctuary, the path to achieving it often feels shrouded in mystery, especially when it comes to that essential but sometimes intimidating tool: the vacuum cleaner. For many, it’s just a noisy machine that sucks up dirt, but a truly effective vacuuming routine is an art – one that can dramatically transform the look and feel of your living space.
You might be thinking, "Vacuuming? How hard can it be?" The truth is, mastering your vacuum cleaner goes beyond simply pushing it around. It involves understanding your machine, selecting the right tools, and employing techniques that don’t just remove surface dirt, but truly lift the grime that dulls your carpets, scuffs your hard floors, and generally mutes the vibrant palette of your home. This comprehensive guide is designed for every homeowner ready to unlock the full potential of their vacuum, turning a mundane chore into a powerful strategy for a cleaner, more colorful, and inviting home.
Understanding Your Vacuum Cleaner: More Than Just a Sucker
Before you embark on your cleaning crusade, it’s crucial to get acquainted with your cleaning companion. Not all vacuums are created equal, and knowing yours is the first step to a truly effective clean.
Types of Vacuums: Picking Your Power Pal
The market is flooded with various vacuum types, each designed with specific strengths. Choosing the right one (or combination) for your home’s unique needs is key:
- Upright Vacuums: The classic workhorse, excellent for deep cleaning carpets and rugs. Their wide cleaning path and powerful brush rolls are fantastic for lifting embedded dirt and pet hair, helping to restore carpet pile and color.
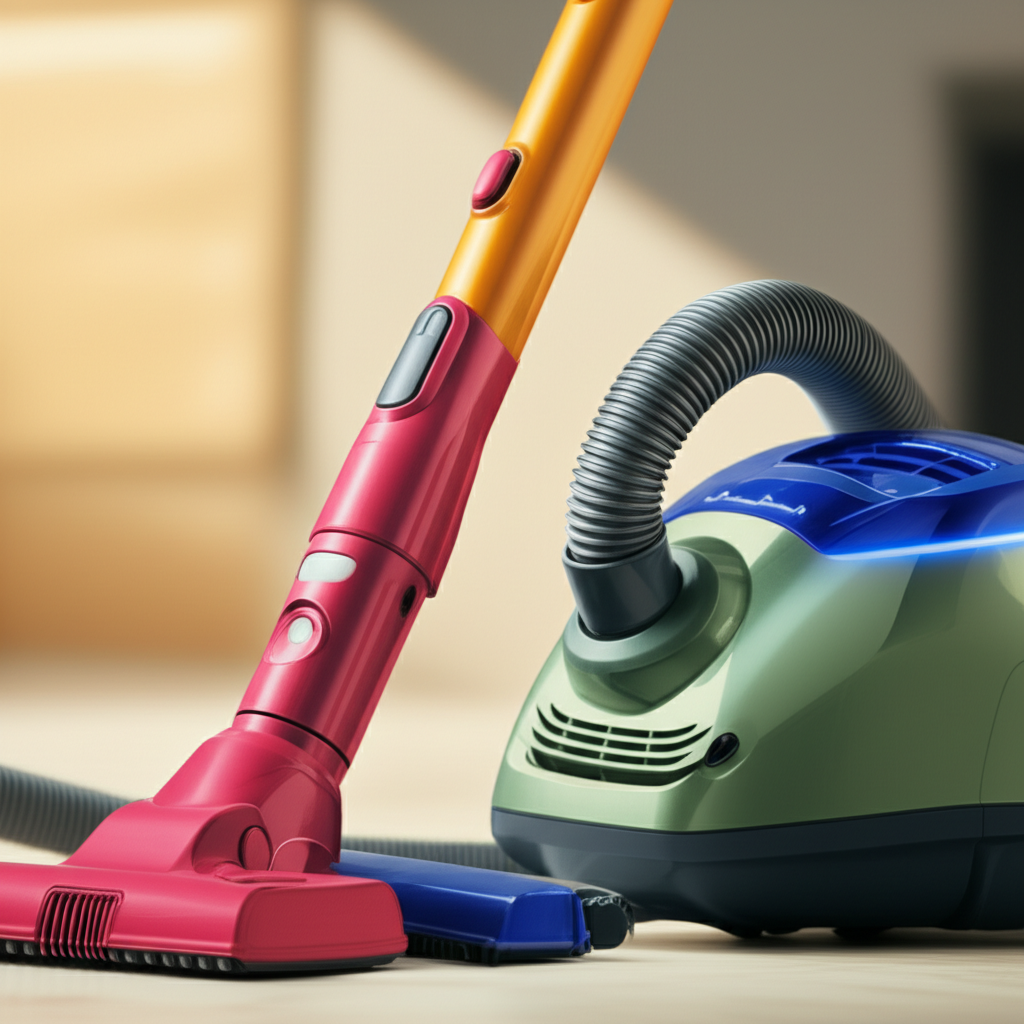
- Canister Vacuums: Highly versatile, featuring a separate canister unit connected to a hose and wand. Ideal for hard floors, stairs, upholstery, and reaching tricky spots thanks to their maneuverability and range of attachments. They often come with specialized hard floor tools that protect delicate surfaces.
- Stick/Cordless Vacuums: Lightweight and convenient, perfect for quick clean-ups, spills, and daily maintenance on both hard floors and low-pile carpets. While not as powerful as uprights, their grab-and-go nature ensures small messes don’t accumulate and dull your floors.
- Robot Vacuums: The ultimate in convenience, these autonomous cleaners handle daily maintenance, keeping dust at bay between deeper cleans. They’re great for maintaining a baseline level of cleanliness, especially on open floor plans, preventing general dust from settling and dulling surfaces.
- Handheld Vacuums: Indispensable for small messes, car interiors, upholstery crumbs, and reaching tight corners. A must-have for quick spot treatments that prevent small spills from becoming larger, color-fading stains.
Anatomy of a Clean Machine: Knowing Your Parts
Every vacuum, regardless of type, shares core components that contribute to its efficacy:
- Power Switch & Cord/Battery: Obvious, but ensure your cord is untangled and undamaged, or your battery is charged for optimal performance.
- Suction Inlet/Nozzle: This is where the magic happens. Its design varies greatly depending on the vacuum type and intended use (e.g., wide for carpets, narrow for crevices).
- Brush Roll (Beater Bar): Found primarily on uprights and some stick vacuums, this rotating brush agitates carpet fibers to dislodge deep-seated dirt. Crucially, many vacuums have an ON/OFF switch for the brush roll. Always turn it OFF for hard floors to prevent scratching and scattering debris, and for delicate rugs to avoid damage.
- Dustbin/Bag: The repository for all the dirt you collect. Knowing how to empty or replace it is fundamental. A full bin or bag drastically reduces suction power.
- Filters: These are the lungs of your vacuum, trapping fine dust and allergens. Common types include HEPA filters (for superior allergen capture), foam filters, and pre-motor/post-motor filters. Clean or replace them regularly to maintain suction and air quality. A clogged filter means less power and can even lead to your machine overheating.
- Attachments: These are your secret weapons!
- Crevice Tool: For tight corners, along baseboards (where dirt often creates a dark line against light paint), and between couch cushions.
- Upholstery Tool: Gentle yet effective for cleaning furniture, curtains, and car seats, lifting dust that can dull fabric colors.
- Dusting Brush: Soft bristles ideal for delicate surfaces like lampshades, bookshelves, and blinds, preventing dust build-up that mutes colors.
- Pet Hair Tool: Often a mini-turbo brush, designed to tackle stubborn pet hair from upholstery and stairs, restoring the original look of fabrics.
- Bare Floor Tool: A wide, non-agitating head for gentle and effective cleaning of hardwood, tile, and laminate.
Pre-Vacuuming Prep: Setting the Stage for Sparkling Floors
Effective vacuuming isn’t just about the machine; it’s about the method. A little prep work goes a long way in ensuring efficiency and preventing damage.
Declutter First: The Golden Rule
Before you even plug in your vacuum, walk through the room and pick up any small items: toys, shoes, loose change, charging cables, and anything else that isn’t nailed down. Not only does this prevent these items from being sucked up and potentially damaging your vacuum (or getting lost!), but it also allows for uninterrupted, thorough cleaning, ensuring no patch of floor is missed.
Pre-Treating Tough Spots: A Little Help Goes a Long Way
Your vacuum is powerful, but it’s not a magic wand for dried-on gunk or sticky spills. If you have dried food, mud, or sticky residue, gently scrape it off with a blunt tool or blot it with a damp cloth before vacuuming. This prevents spreading the mess and allows your vacuum to focus on loose dirt and dust.
Lifting the Lid: Checking for Obstructions
A quick visual scan of your floors can save you a headache. Look for larger pieces of debris like paper clips, hairpins, or even small rocks that could clog your vacuum hose or damage the brush roll. Removing them manually ensures smooth operation.
The Art of Vacuuming: Technique for a Deeper Clean (and Brighter Hues!)
Now for the main event! The way you vacuum is just as important as the vacuum you use. Proper technique ensures a truly deep clean that revitalizes your home’s colors and air quality.
Matching Suction to Surface: The Right Setting Every Time
This is critical for both effectiveness and preserving your floors:
- Carpets & Rugs: For most carpets, engage the brush roll (ON) and select a higher suction setting. The brush roll agitates the fibers, lifting embedded dirt and pet hair, which is crucial for restoring the carpet’s original color and fluffiness. Adjust the vacuum height setting so the brush just barely touches the carpet for maximum effect without being too difficult to push.
- Hardwood, Tile & Laminate: Always turn the brush roll OFF for hard surfaces. A spinning brush roll can scratch delicate finishes, scatter debris rather than collect it, and dull the sheen of your floors over time. Use a bare floor tool or a vacuum with a soft roller brush and a lower suction setting to gently pick up dust and debris. This protects your floors and maintains their vibrant appearance.
- Delicate Rugs (e.g., Shag, Silk): Exercise caution. Turn the brush roll OFF, use a lower suction setting, and possibly use an upholstery tool or bare floor attachment. High suction or an aggressive brush roll can damage delicate fibers.
The Overlapping Stroke: No Spot Left Behind
Think of vacuuming as painting a wall – you want smooth, even, overlapping strokes.
- Slow and Deliberate: Don’t rush! Move the vacuum slowly, allowing the suction ample time to pull up dirt. Fast passes only skim the surface.
- Overlap Your Passes: Overlap each pass by about half the width of your vacuum nozzle. This ensures you don’t miss any strips of floor.
- Two Directions for Carpets: For a truly deep clean and to lift carpet pile (making it look richer and brighter), vacuum once in one direction (e.g., North-South), then make a second pass perpendicular to the first (East-West). This multi-directional approach captures more dirt and creates those satisfying, even carpet lines.
Targeting Trouble Spots: Bringing Back the Brilliance
Certain areas demand extra attention to truly make your home sparkle:
- High-Traffic Areas: Entrances, hallways, and living room paths accumulate the most dirt. Give these areas a few extra passes, perhaps with the brush roll on if appropriate for the surface, to lift deeply embedded grime.
- Under Furniture: Move small furniture pieces if possible. For larger items, use your crevice tool or extension wand to reach underneath, as dust bunnies love to hide and multiply in these unseen spots.
- Baseboards & Corners: Dust and dirt love to collect along the edges of a room, creating a visible dark line against light-colored baseboards or walls. Use the crevice tool to meticulously clean these edges, instantly brightening the room’s perimeter.
- Upholstery & Curtains: Don’t forget your fabrics! Use the upholstery tool or dusting brush on couches, chairs, and curtains. Dust settles heavily on these items, dulling their original color and contributing to indoor allergens. Regular vacuuming helps them retain their vibrancy and freshness.
Post-Vacuuming Care: Keeping Your Machine (and Home) in Top Shape
Your vacuum works hard for you; a little care in return ensures its longevity and continued peak performance.
Emptying the Dustbin/Bag: Don’t Wait Until It’s Full
This is paramount! A full dustbin or bag significantly reduces suction power, making your vacuum less effective and forcing it to work harder.
- Bagless Vacuums: Empty the dustbin after every few uses, or when it reaches the "full" line. Dispose of the contents directly into a trash can, ideally outside, to prevent dust from re-entering your home’s air.
- Bagged Vacuums: Replace the bag when it’s about two-thirds full. Don’t wait until it’s overflowing, as this can strain the motor and diminish suction.
Cleaning Filters: The Lungs of Your Vacuum
Filters trap fine particles, preventing them from being expelled back into your home. A clogged filter chokes your vacuum, reducing suction and compromising air quality.
- Washable Filters: Rinse under cool, running water until the water runs clear. Allow them to air dry completely (usually 24-48 hours) before reinserting. Never put a damp filter back into your vacuum!
- Non-Washable Filters: Tap them gently against a trash can to dislodge dust. Replace them according to your manufacturer’s recommendations, typically every 3-6 months, or more frequently if you have pets or allergies.
Checking the Brush Roll: Freeing It from Hair and Debris
Hair, threads, and carpet fibers frequently get tangled around the brush roll, impeding its rotation and effectiveness. Always unplug your vacuum first for safety! Carefully use scissors or a seam ripper to cut away any tangled debris. A clean brush roll spins freely, agitating carpets efficiently and preventing motor strain.
Storing Your Vacuum: Ready for Its Next Mission
Proper storage keeps your vacuum in good condition and readily accessible. Coil the cord neatly, store attachments on their designated spots, and keep the vacuum in a dry, safe place.
Beyond the Basics: Advanced Tips for a Pristine Home
Once you’ve mastered the fundamentals, these extra tips will elevate your cleaning routine.
Regular Maintenance Schedule: A Little Consistency Goes a Long Way
- Daily Quick Clean (Stick/Robot): Tackle high-traffic areas or common mess zones to prevent accumulation.
- Weekly Deep Clean (Upright/Canister): A thorough vacuuming of all floors, including using attachments for edges and upholstery.
- Monthly Filter Check & Brush Roll Clean: Essential for maintaining machine health and optimal suction.
Tackling Pet Hair: The Ultimate Color Challenge
Pet hair can quickly dull the appearance of carpets, upholstery, and even hard floors, creating a fuzzy, muted look. If you have furry friends, invest in a vacuum with strong suction and specialized pet hair tools. Frequent vacuuming (daily in pet zones) is key to preventing pet hair from weaving itself deeply into fabrics and fibers.
The "Color" Connection: How Vacuuming Enhances Your Home’s Aesthetic
Throughout this guide, we’ve subtly touched on the impact of vacuuming on your home’s visual appeal, but let’s be explicit: dirt and dust are the enemies of vibrant colors.
- Carpets: A dirty carpet looks drab and faded. Deep cleaning lifts the pile and removes the layer of dust that dulls its hue, restoring its richness and texture.
- Hard Floors: Grime and fine dust create a hazy film over hardwood, tile, and laminate, obscuring their natural sheen and color variations. Regular, proper vacuuming reveals their true beauty.
- Upholstery & Curtains: Fabrics absorb dust like sponges. This dust creates a dull, grayish cast, making your furniture and window treatments look tired and less colorful than they truly are. A good vacuuming can literally brighten your textiles.
- Baseboards & Walls: Dust clinging to baseboards and lower wall areas creates a distinct, often dark, line that detracts from the clean lines and colors of your interior paint. A quick pass with a crevice tool makes a significant visual difference.
A truly clean home isn’t just about hygiene; it’s about clarity, vibrancy, and the way light interacts with your surroundings. Vacuuming effectively is one of the most powerful tools you have to achieve this.
Conclusion: Embrace the Power of the Vacuum
Vacuuming, when done correctly, is far more than a chore; it’s an investment in the health, beauty, and longevity of your home. By understanding your machine, employing smart techniques, and committing to regular maintenance, you’re not just removing dust; you’re preserving your floors, extending the life of your furnishings, improving your indoor air quality, and most visibly, bringing out the true, vibrant colors of your living space.
So, go forth, homeowners! Armed with this knowledge, you’re ready to transform your vacuum cleaner from a simple appliance into your most trusted ally in creating a home that truly shines, inside and out. Start vacuuming smarter today, and watch your home come alive with color and freshness.
