
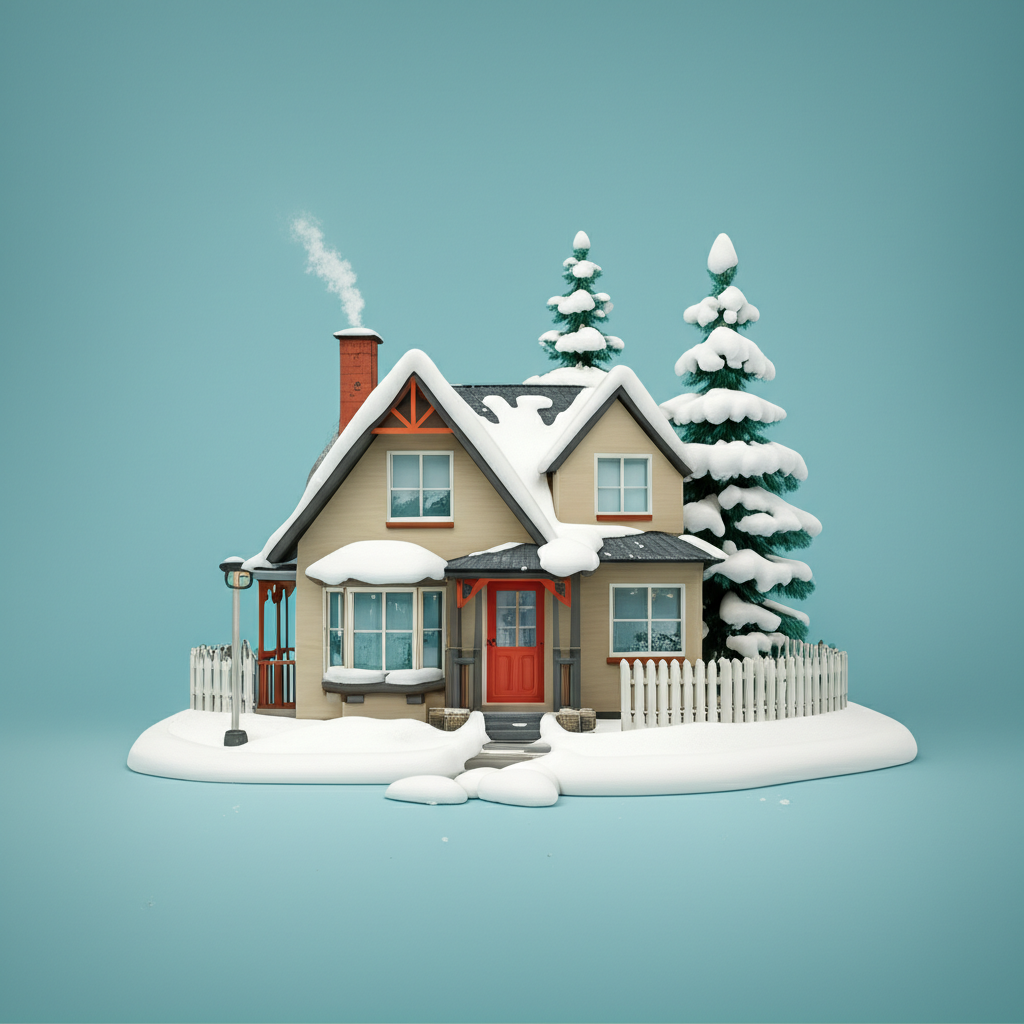
As the vibrant hues of autumn fade and the crisp chill of winter begins to bite, our homes transform from summer havens to cozy fortresses. But before you hunker down with a hot cocoa and a good book, there’s crucial work to be done. Winter isn’t just a season; it’s a test of your home’s resilience, and neglecting essential maintenance can lead to costly repairs, discomfort, and even safety hazards.
Preparing your home for winter isn’t about grand renovations; it’s about smart, routine repairs that safeguard your sanctuary. Think of it as giving your home a protective shield against the elements. From preventing burst pipes to maximizing energy efficiency, a proactive approach ensures your winter is filled with warmth, not worry.
To help you navigate this vital preparation, we’ve compiled a list of 10 essential routine repairs for winter, categorized by their DIY difficulty level. Whether you’re a seasoned DIYer or just starting your home improvement journey, these levels will guide you on what you can tackle yourself and when it’s wise to call in a professional.
Our DIY Levels Explained:
- Level 1: Essential & Easy DIY – These are quick, straightforward tasks that require minimal tools and effort. They offer high impact on safety or comfort and are perfect for beginners.
- Level 2: Important & Moderate DIY – These tasks demand a bit more time, basic tools, and a moderate comfort level with DIY. They focus on crucial preventative measures that can save you significant headaches.
- Level 3: Critical & Pro Recommended – While you might be able to perform a basic inspection, the actual repair or full maintenance often involves safety risks, specialized tools, or deep expertise. Professional service is highly advisable, if not mandatory, for these tasks.
Why Winter Prep Isn’t Just for Snowflakes
Beyond the obvious comfort of a warm home, meticulous winter preparation offers a multitude of benefits:
- Enhanced Safety: Detecting potential hazards like faulty heating systems or carbon monoxide leaks can literally save lives.
- Significant Savings: Preventative maintenance is almost always cheaper than emergency repairs. Plus, sealing drafts and optimizing heating systems can drastically cut down on your energy bills.
- Increased Comfort: A well-prepared home stays warmer, quieter, and more comfortable, allowing you to truly enjoy the winter months.
- Property Value Protection: Regular maintenance prevents minor issues from escalating into major structural damage, preserving your home’s long-term value.
Let’s dive into your essential winter repair checklist!
Your Winter Repair Checklist: 10 Essential Tasks & Their DIY Levels
1. Seal Drafts Around Windows and Doors (Level 1: Essential & Easy DIY)
Drafts are like silent energy thieves, allowing precious warmth to escape and cold air to sneak in. This simple fix offers immediate comfort and significant energy savings.
- What to Look For: Feel for cold air currents around window frames, door gaps, and electrical outlets on exterior walls. You can also use the "candle test": hold a lit candle near potential draft sources; if the flame flickers, you have a draft.
- How To Do It:
- Weatherstripping: Apply self-adhesive foam or rubber weatherstripping to the perimeter of door and window frames where they meet the sash or door jamb.
- Caulking: For stationary gaps around window frames or where trim meets the wall, use exterior-grade silicone caulk. Ensure surfaces are clean and dry before applying.
- Draft Stoppers: For the bottom of doors, a simple fabric draft snake or door sweep can make a big difference.
- Why It’s Important: Prevents heat loss, reduces energy bills, and makes your home feel significantly cozier.
2. Inspect and Clean Gutters and Downspouts (Level 1: Essential & Easy DIY)
Clogged gutters are a leading cause of ice dams, roof damage, and foundation issues. Clear gutters ensure proper water drainage away from your home.
- What to Look For: Leaves, twigs, dirt, and even shingle grit accumulating in your gutters. Check that downspouts are clear and directing water away from the foundation.
- How To Do It:
- Safety First: Use a sturdy ladder on stable ground. If heights make you uncomfortable, consider hiring help.
- Remove Debris: Manually remove large debris, then use a garden hose to flush out smaller particles.
- Check Downspouts: Ensure water flows freely through downspouts. If not, use a plumber’s snake or a strong hose nozzle to dislodge clogs.
- Why It’s Important: Prevents water from backing up, which can lead to ice dams on the roof, rotting fascia boards, damaged siding, and foundation cracks.
3. Test Smoke and Carbon Monoxide Detectors (Level 1: Essential & Easy DIY)
These life-saving devices are your first line of defense against home emergencies. A quick check takes seconds and could save lives.
- What to Look For: Press the "test" button on each detector to ensure it sounds. Check the battery compartment for low-battery indicators. Note the expiration date – most detectors need replacement every 7-10 years.
- How To Do It:
- Test Button: Simply press and hold the test button on each unit until it chirps or sounds an alarm.
- Battery Replacement: If a unit is chirping intermittently or fails the test, replace the batteries immediately (even if hardwired, they often have backup batteries).
- Why It’s Important: Ensures early warning in case of fire or the presence of odorless, colorless, deadly carbon monoxide gas, especially critical when heating systems are running more frequently.
4. Inspect and Tune Up Furnace/Heating System (Level 2: Important & Moderate DIY / Level 3: Critical & Pro Recommended)
Your heating system is the heart of your winter comfort. Regular maintenance ensures it runs efficiently and safely.
- What to Look For (DIY – Level 2):
- Air Filter: Check for dirt and dust buildup.
- Vents: Ensure all registers and return vents are open and unobstructed.
- Pilot Light/Ignition: If you have an older furnace, ensure the pilot light is steady.
- How To Do It (DIY – Level 2):
- Change Air Filter: This is arguably the most important DIY task. Locate your furnace filter (usually in a slot near the blower fan), note the size, and replace it with a new, clean filter. Do this monthly during peak heating season.
- Clean Vents: Vacuum dust from all supply and return vents.
- Pro Recommended (Level 3): Schedule an annual professional furnace tune-up. A technician will inspect internal components, check for gas leaks, test safety controls, clean the burner, and ensure optimal performance.
- Why It’s Important: A clean, well-maintained system operates more efficiently, saving energy and money. Professional tune-ups can also detect small issues before they become expensive breakdowns and ensure safe operation.
5. Reverse Ceiling Fans (Level 1: Essential & Easy DIY)
This clever trick helps distribute warm air more effectively throughout a room.
- What to Look For: A small switch on the motor housing of your ceiling fan.
- How To Do It: Locate the switch on your fan’s motor housing and flip it to reverse the blade direction. The blades should now spin clockwise at a low speed.
- Why It’s Important: By spinning clockwise, the fan creates an updraft, pushing warm air that has risen to the ceiling back down into the living space, making the room feel warmer without turning up the thermostat.
6. Insulate Exposed Pipes (Level 2: Important & Moderate DIY)
Frozen pipes can burst, leading to catastrophic water damage. Protecting vulnerable pipes is a crucial preventative measure.
- What to Look For: Any exposed water pipes in unheated areas like basements, crawl spaces, garages, or outside walls.
- How To Do It:
- Pipe Sleeves: Purchase pre-slit foam pipe insulation sleeves (available at hardware stores) that match the diameter of your pipes. Simply snap them around the pipes.
- Heat Tape: For extremely cold areas or very vulnerable pipes, consider electric heat tape. Follow manufacturer instructions carefully for safe installation.
- Why It’s Important: Prevents pipes from freezing and bursting, which can cause extensive and expensive water damage.
7. Check Roof and Attic for Leaks/Damage (Level 2: Important & Moderate DIY / Level 3: Critical & Pro Recommended)
A compromised roof can lead to significant water damage inside your home. A visual inspection can catch issues early.
- What to Look For (DIY – Level 2):
- From the Ground: Use binoculars to look for missing, cracked, or curled shingles. Check for damaged flashing around chimneys and vents.
- In the Attic: With a flashlight, look for water stains, mold, or dampness on the underside of the roof decking, especially after rain or snow.
- How To Do It (DIY – Level 2): Document any findings with photos. Minor shingle repairs might be possible for experienced DIYers, but climbing on a roof can be dangerous.
- Pro Recommended (Level 3): If you spot significant damage, are uncomfortable on ladders, or suspect a complex issue, call a professional roofer for a thorough inspection and repair.
- Why It’s Important: Prevents water intrusion, which can lead to costly structural damage, mold growth, and compromised insulation.
8. Winterize Outdoor Faucets and Sprinkler Systems (Level 2: Important & Moderate DIY)
Just like indoor pipes, outdoor water lines are highly susceptible to freezing and bursting if not properly prepared.
- What to Look For: Identify all outdoor spigots and locate the shut-off valves for your sprinkler system and outdoor faucets, usually inside your home (e.g., in the basement or utility room).
- How To Do It:
- Shut Off Water: Turn off the main water supply to your outdoor faucets and sprinkler system.
- Drain Lines: Open the outdoor spigots to allow any remaining water in the pipes to drain out. For sprinkler systems, use the drain valves or follow manufacturer instructions for "blowing out" the lines with an air compressor (often a pro job).
- Disconnect Hoses: Remove all garden hoses from outdoor faucets and store them indoors.
- Why It’s Important: Prevents water from freezing in the pipes and causing them to burst, which can lead to major water leaks and costly repairs.
9. Inspect and Maintain Fireplace/Chimney (Level 2: Important & Moderate DIY / Level 3: Critical & Pro Recommended)
If you enjoy a cozy fire, ensuring your fireplace and chimney are safe and functional is paramount.
- What to Look For (DIY – Level 2):
- Creosote Buildup: Shine a flashlight up the flue from the firebox. Look for a thick, tar-like substance (creosote) or any blockages.
- Damper Function: Ensure the damper opens and closes completely.
- Exterior: Check the chimney exterior for cracked mortar, loose bricks, or a damaged chimney cap.
- How To Do It (DIY – Level 2):
- Clean Firebox: Scoop out ash and debris.
- Brief Visual: A quick visual check is fine, but detailed cleaning requires more.
- Pro Recommended (Level 3): Hire a certified chimney sweep annually, especially if you use your fireplace frequently. They will thoroughly clean the flue, remove creosote, and inspect for structural damage or blockages that could lead to chimney fires or carbon monoxide leaks.
- Why It’s Important: Prevents chimney fires caused by creosote buildup and ensures proper ventilation, reducing the risk of carbon monoxide poisoning.
10. Check Foundation and Exterior Walls for Cracks (Level 2: Important & Moderate DIY)
Winter’s freeze-thaw cycles can exacerbate existing cracks, allowing water intrusion and potential structural issues.
- What to Look For: Walk around your home’s exterior, paying close attention to the foundation, brickwork, and siding. Look for hairline cracks, wider fissures, or crumbling mortar.
- How To Do It:
- Clean and Fill: For minor, non-structural cracks (less than 1/8 inch wide), clean out any debris and fill them with exterior-grade caulk or a hydraulic cement patch, following product instructions.
- Monitor: Keep an eye on any repaired cracks and larger cracks.
- Why It’s Important: Sealing cracks prevents water from seeping into your foundation or walls, which can lead to basement leaks, mold, and further structural damage as water expands when it freezes. Larger, shifting cracks may indicate a more serious structural issue requiring professional assessment.
Beyond the Checklist: Embrace a Proactive Winter Mindset
Completing these 10 routine repairs will put your home in an excellent position to weather the winter months. But winter preparation is more than just a checklist; it’s about fostering a proactive mindset. Throughout the season, stay vigilant. Listen to your home – strange noises, unusual smells, or sudden drafts can all be warning signs.
Remember, knowing your limits is key. While many tasks are perfectly suited for a DIY approach, don’t hesitate to call a qualified professional for tasks that are beyond your skill level, require specialized tools, or involve significant safety risks. Investing in professional services where needed is an investment in your home’s longevity and your family’s safety.
Conclusion: Your Warm, Worry-Free Winter Awaits
Winter can be a magical time, filled with holiday cheer and cozy evenings. By dedicating a bit of time and effort to these 10 routine repairs, you’re not just fixing things; you’re building a stronger, safer, and more energy-efficient home. You’re protecting your investment, reducing stress, and ensuring that when the snow falls, you can truly relax and enjoy the season, knowing your home is ready for anything Mother Nature throws its way. So, grab your tools, consult our levels, and get ready to embrace a winter of warmth and peace of mind!
