
For the true enthusiast, there’s a unique satisfaction in creating something with your own hands. And when that creation fills your home with rich, vibrant sound, the reward is simply unparalleled. Forget off-the-shelf compromises; building your own ultimate sound system isn’t just about saving money – it’s about crafting an audio experience perfectly tailored to your ears, your space, and your passion.
This isn’t a simple guide to assembling a basic stereo. This is your blueprint for achieving audiophile-grade performance, a deep dive into the components, techniques, and often-overlooked details that transform good sound into truly breathtaking sound. If you’re ready to embark on a journey that culminates in a custom audio masterpiece, grab your tools and let’s begin.
The Sonic Vision: Defining Your Audio DNA
Before you even think about buying a single component, take a moment to dream. What does "ultimate sound" mean to you? Are you chasing the visceral thump of a live concert, the delicate shimmer of a classical symphony, or the immersive soundstage of a cinematic masterpiece? Your personal audio DNA will dictate every choice you make.
Understanding Your Listening Habits and Space
- Genre Preferences: Different music genres thrive on different sonic characteristics. Rock might demand powerful bass and dynamic range, while jazz often benefits from pristine clarity and intricate detail.
- Primary Use: Is this primarily for music, movies, gaming, or a blend? This influences speaker choice, subwoofer integration, and even amplifier power.
- Room Dynamics: Perhaps the most overlooked aspect. A small, acoustically "live" room (lots of reflective surfaces) will behave very differently from a large, carpeted space. Understanding your room is paramount to achieving balanced sound, not just loud sound. Measure your room dimensions, note furniture placement, and consider potential reflection points.
By clearly defining your sonic vision, you’ll avoid common pitfalls and ensure your custom audio setup truly delivers on its promise.
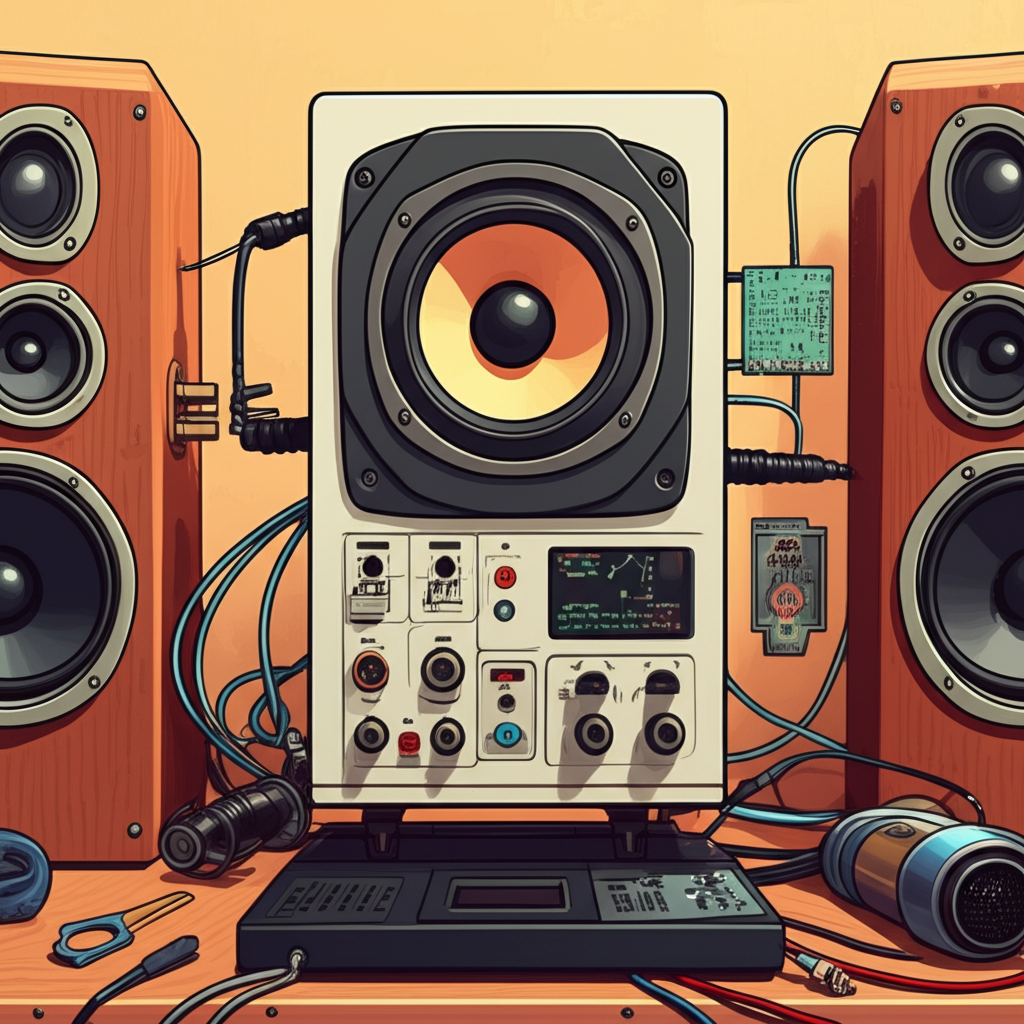
The Heart of the Matter: Core Components Dissected
Every ultimate sound system is a symphony of meticulously chosen components working in harmony. Here’s a breakdown of the key players and what to look for when building your DIY masterpiece.
The Source: Where the Magic Begins
The source is where your audio signal originates. Its quality sets the ceiling for your entire system’s performance.
- Digital-to-Analog Converters (DACs): If you’re streaming digital music (from services like Tidal, Qobuz, or even local files), a high-quality external DAC is non-negotiable. It translates digital zeros and ones into an analog waveform your amplifier can use. Look for DACs with robust chipsets (ESS Sabre, AKM, Burr-Brown), low jitter, and support for high-resolution audio formats (24-bit/192kHz, DSD). DIY DAC kits are available and can offer incredible value.
- Streamers/Network Players: These devices retrieve digital audio from your network or the internet. Many modern streamers integrate a DAC, but dedicated units often offer superior performance and features like multi-room audio.
- Turntables (for Vinyl Lovers): If vinyl is your passion, invest in a quality turntable, tonearm, and cartridge. A separate phono preamplifier (phono stage) is crucial for boosting the tiny signal from the cartridge and applying the RIAA equalization curve. DIY phono stages can be incredibly rewarding builds.
Amplification: Powering Your Passion
The amplifier takes the delicate signal from your source and boosts it to drive your speakers. This is where subtlety meets raw power.
- Preamplifiers: These devices manage input selection, volume control, and often provide some signal shaping. For a truly high-end DIY setup, a separate preamplifier allows for greater flexibility and often superior signal purity compared to integrated solutions.
- Power Amplifiers: Dedicated power amps focus solely on providing clean, robust power to your speakers. They come in various "classes":
- Class A: Known for superb linearity and sonic purity, but are inefficient and run hot. A classic audiophile choice for those prioritizing sound quality above all else.
- Class AB: A common compromise, offering good efficiency and sound quality.
- Class D: Highly efficient and compact, ideal for modern setups and subwoofers. Newer Class D designs can sound remarkably good.
- Integrated Amplifiers: Combine a preamplifier and power amplifier in one chassis. While convenient, a separate pre/power amp combo generally offers better performance and upgrade paths for the serious DIYer.
For DIY enthusiasts, building an amplifier from a well-designed kit can be incredibly satisfying and cost-effective, offering insights into circuit design and component matching.
Speakers: The Voice of Your System
This is where your audio signal finally becomes audible sound waves. DIY speaker building offers the most significant opportunity for customization and performance gains.
- Driver Selection: The heart of any speaker. Woofers (bass), mid-range drivers, and tweeters (treble) each handle specific frequency ranges. Research reputable driver manufacturers (Scan-Speak, SB Acoustics, Morel, Dayton Audio, FaitalPRO, etc.) and read reviews. Look at parameters like sensitivity, frequency response, and power handling.
- Enclosure Design: The cabinet isn’t just a box; it’s a critical component.
- Sealed (Acoustic Suspension): Offers tight, accurate bass, but requires more amplifier power. Simpler to build.
- Ported (Bass Reflex): Provides deeper bass extension for a given cabinet size, but can be less precise if not designed correctly. More complex to tune.
- Transmission Line: A more advanced design offering very deep, controlled bass, but requires precise construction and larger cabinets.
- Crossover Networks: These electronic circuits divide the audio signal and send the appropriate frequencies to each driver. A well-designed crossover is crucial for seamless integration between drivers and a flat frequency response. While pre-made crossovers exist, designing and building your own is a hallmark of advanced DIY speaker building. Software like VituixCAD can assist in this complex but rewarding task.
- Construction Materials: MDF is a popular choice for its density and acoustic inertness. Plywood or even more exotic materials like Baltic Birch can also be used. Focus on rigid, well-braced cabinets to minimize resonances.
The Subwoofer: Deepening the Experience
A dedicated subwoofer adds authority, depth, and impact to your audio, especially for music with strong bass lines or cinematic explosions.
- Integration: The key is seamless blending, not just booming bass. Look for subwoofers with adjustable crossover frequencies and phase controls.
- Sealed vs. Ported: Similar to main speakers, sealed subs offer tighter, more accurate bass, while ported subs can play louder and deeper for their size.
- DIY Subwoofer Kits: Many excellent kits are available, providing drivers, enclosures, and plate amplifiers, making this a relatively straightforward but impactful DIY project.
Beyond the Basics: Elevating Your Ultimate Sound
Achieving ultimate sound goes beyond just the main components. These often-overlooked details can make a significant difference.
Cabling: The Lifelines of Your System
While debates rage about esoteric cable pricing, quality cables are essential for reliable signal transfer.
- Interconnects: Connect your source to your preamp, and preamp to power amp. Look for good shielding and quality connectors (RCA, XLR).
- Speaker Wire: Use sufficiently thick gauge wire for your speaker’s impedance and cable length to minimize power loss. Oxygen-free copper (OFC) is a good standard.
- Power Cables: While controversial, some audiophiles swear by high-quality power cables for their impact on overall system performance.
Focus on good construction and proper shielding, rather than excessive marketing hype.
Power Conditioning: A Clean Slate for Sound
Your home’s electrical grid is often noisy. Power conditioners, regenerators, or even simple surge protectors with noise filtration can provide a cleaner, more stable power supply to your sensitive audio components, reducing hum and improving clarity.
Acoustic Treatment: Taming Your Room
This is arguably the single biggest upgrade you can make to any sound system, DIY or commercial. Your room itself is the final component in your audio chain.
- Reflection Control: Sound bounces off walls, ceilings, and floors, creating echoes and blurring the soundstage. Strategic placement of acoustic panels (absorption panels) at primary reflection points can dramatically improve clarity and imaging.
- Bass Traps: Low frequencies are notoriously difficult to control. Bass traps in room corners help tame standing waves and prevent boomy, muddy bass.
- Diffusion: Diffusers scatter sound waves, creating a more spacious and natural soundstage without excessive absorption.
- DIY Acoustic Panels: Building your own acoustic panels and bass traps is a popular and cost-effective DIY project using materials like rigid mineral wool or Owens Corning 703.
Isolation and Damping: Minimizing Vibrations
Vibrations can negatively impact delicate audio signals.
- Speaker Stands: Isolate speakers from the floor, bringing tweeters to ear level. Fillable stands can add mass and damping.
- Isolation Feet/Pads: Place these under components (DACs, amplifiers, turntables) to reduce vibration transfer.
The DIY Journey: From Blueprint to Reality
Building your ultimate sound system is an iterative process, rewarding at every step.
Planning, Research, and Sourcing
- Budget Allocation: Be realistic about your budget and prioritize components. You can always upgrade later.
- Thorough Research: Dive into forums (e.g., AudioKarma, DIY Audio), read component reviews, and study schematics.
- Sourcing Components: Reputable online retailers (Parts Express, Madisound, Mouser, Digi-Key) are your friends. Don’t shy away from specialized DIY audio suppliers.
Assembly and Wiring Best Practices
- Safety First: Always unplug components before working on them. Be mindful of mains voltage in power supply sections.
- Clean Connections: Solder joints should be clean and strong. Use appropriate connectors and tools.
- Cable Management: Keep signal cables away from power cables to minimize interference.
- Grounding: Proper grounding is crucial to avoid hum and noise.
First Listen and Break-In
Don’t expect perfection on the first listen. Most new audio components, especially speakers and amplifiers, require a "break-in" period (typically 50-100 hours of use) for components to settle and drivers to loosen up.
Tuning and Calibration: The Final Polish
- Speaker Placement: Experiment with speaker toe-in, distance from walls, and distance from each other to find the "sweet spot" for imaging and soundstage.
- Subwoofer Integration: Adjust crossover frequency and phase to seamlessly blend the subwoofer with your main speakers.
- Room Correction Software: Advanced DIYers might explore digital room correction (DRC) software (like REW with a calibrated microphone) to precisely measure and correct room anomalies, creating a truly flat and accurate frequency response.
Conclusion: Your Ultimate Sonic Sanctuary Awaits
Building an ultimate sound system is more than just assembling parts; it’s an immersive hobby that combines engineering, artistry, and a deep appreciation for music. The journey itself, filled with research, problem-solving, and the thrill of creation, is as rewarding as the final result.
When you finally sit back, close your eyes, and hear your favorite track rendered with breathtaking clarity, depth, and dynamics – a sound sculpted by your own hands – you’ll understand the true meaning of ultimate audio. Welcome to a world where every note is a testament to your dedication, and every listening session is a personal concert in your own custom-built sonic sanctuary. Happy building!
